Beauty

Finding the ideal face mask to pair with your makeup brings out a flawless finish that lasts throughout the day. Select a mask that addresses your skin type, whether you seek extra hydration, oil control, or soothing care. Begin your routine by cleansing and applying the mask, allowing your skin to absorb its benefits before moving on to primer and foundation. Careful preparation creates a smooth base, helping makeup stay fresh and even for hours. This guide walks you through each step—from choosing the right mask to maintaining your look with quick touch-ups—using easy instructions to help you feel confident and ready for any occasion.
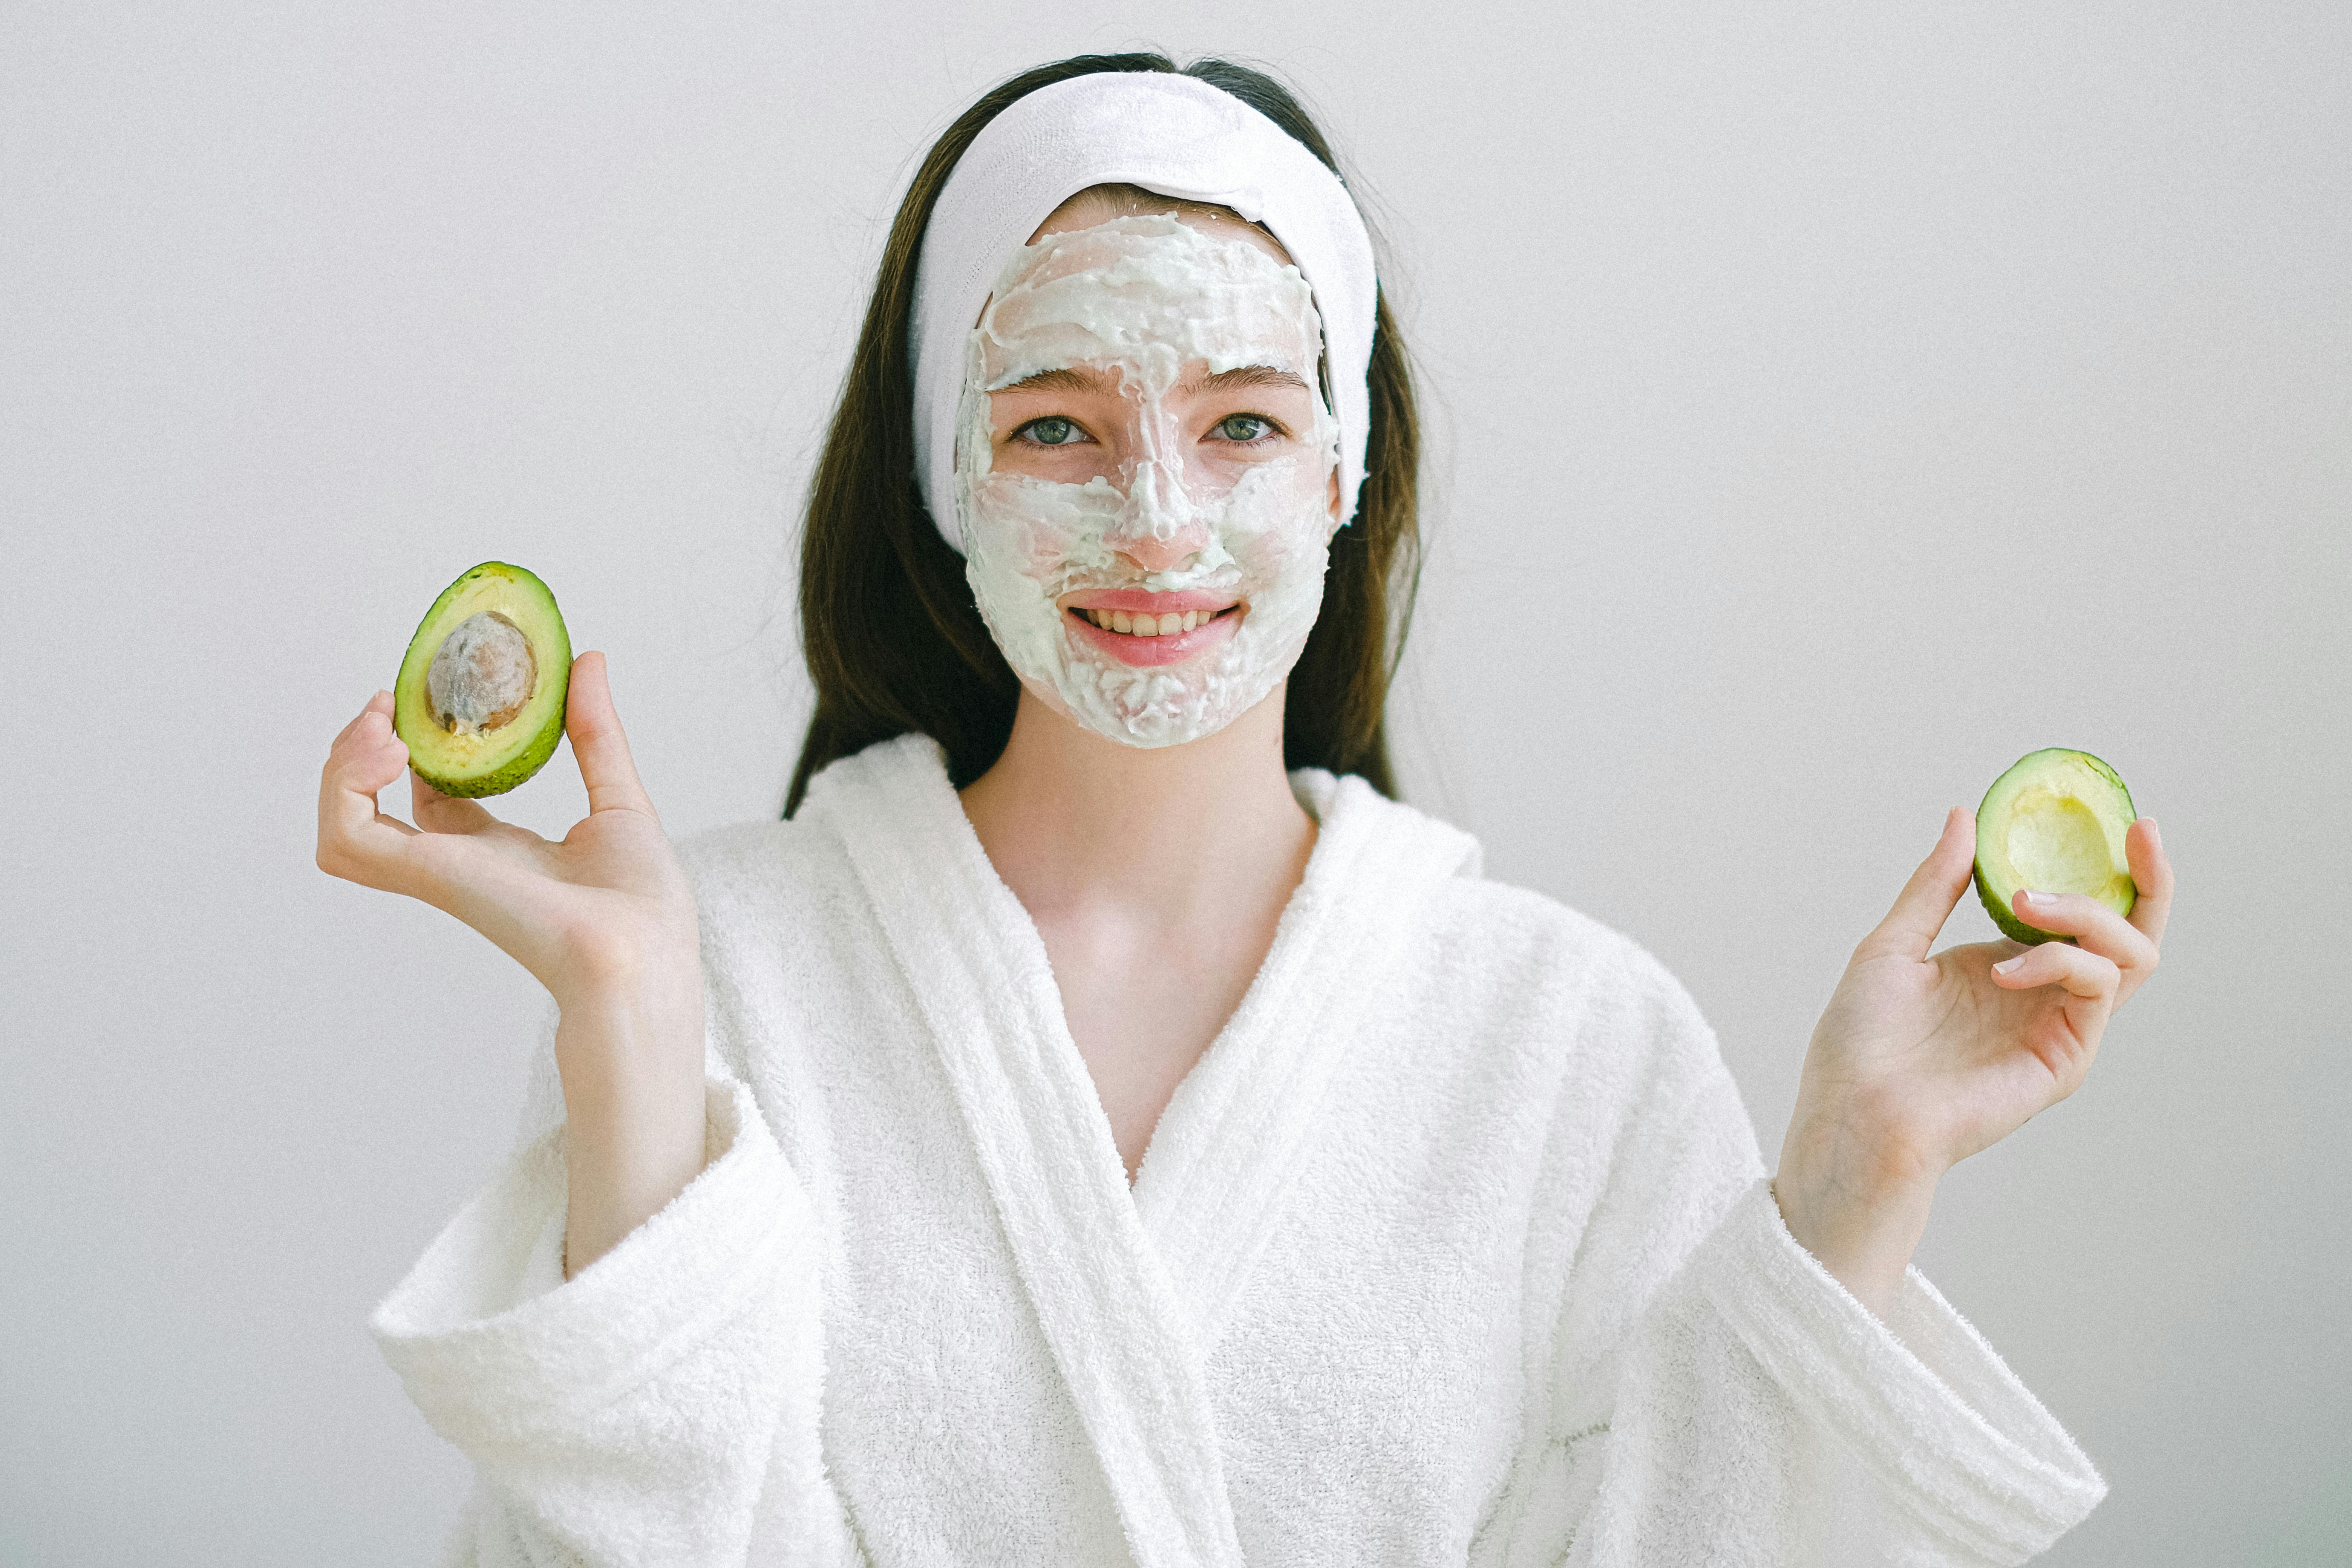
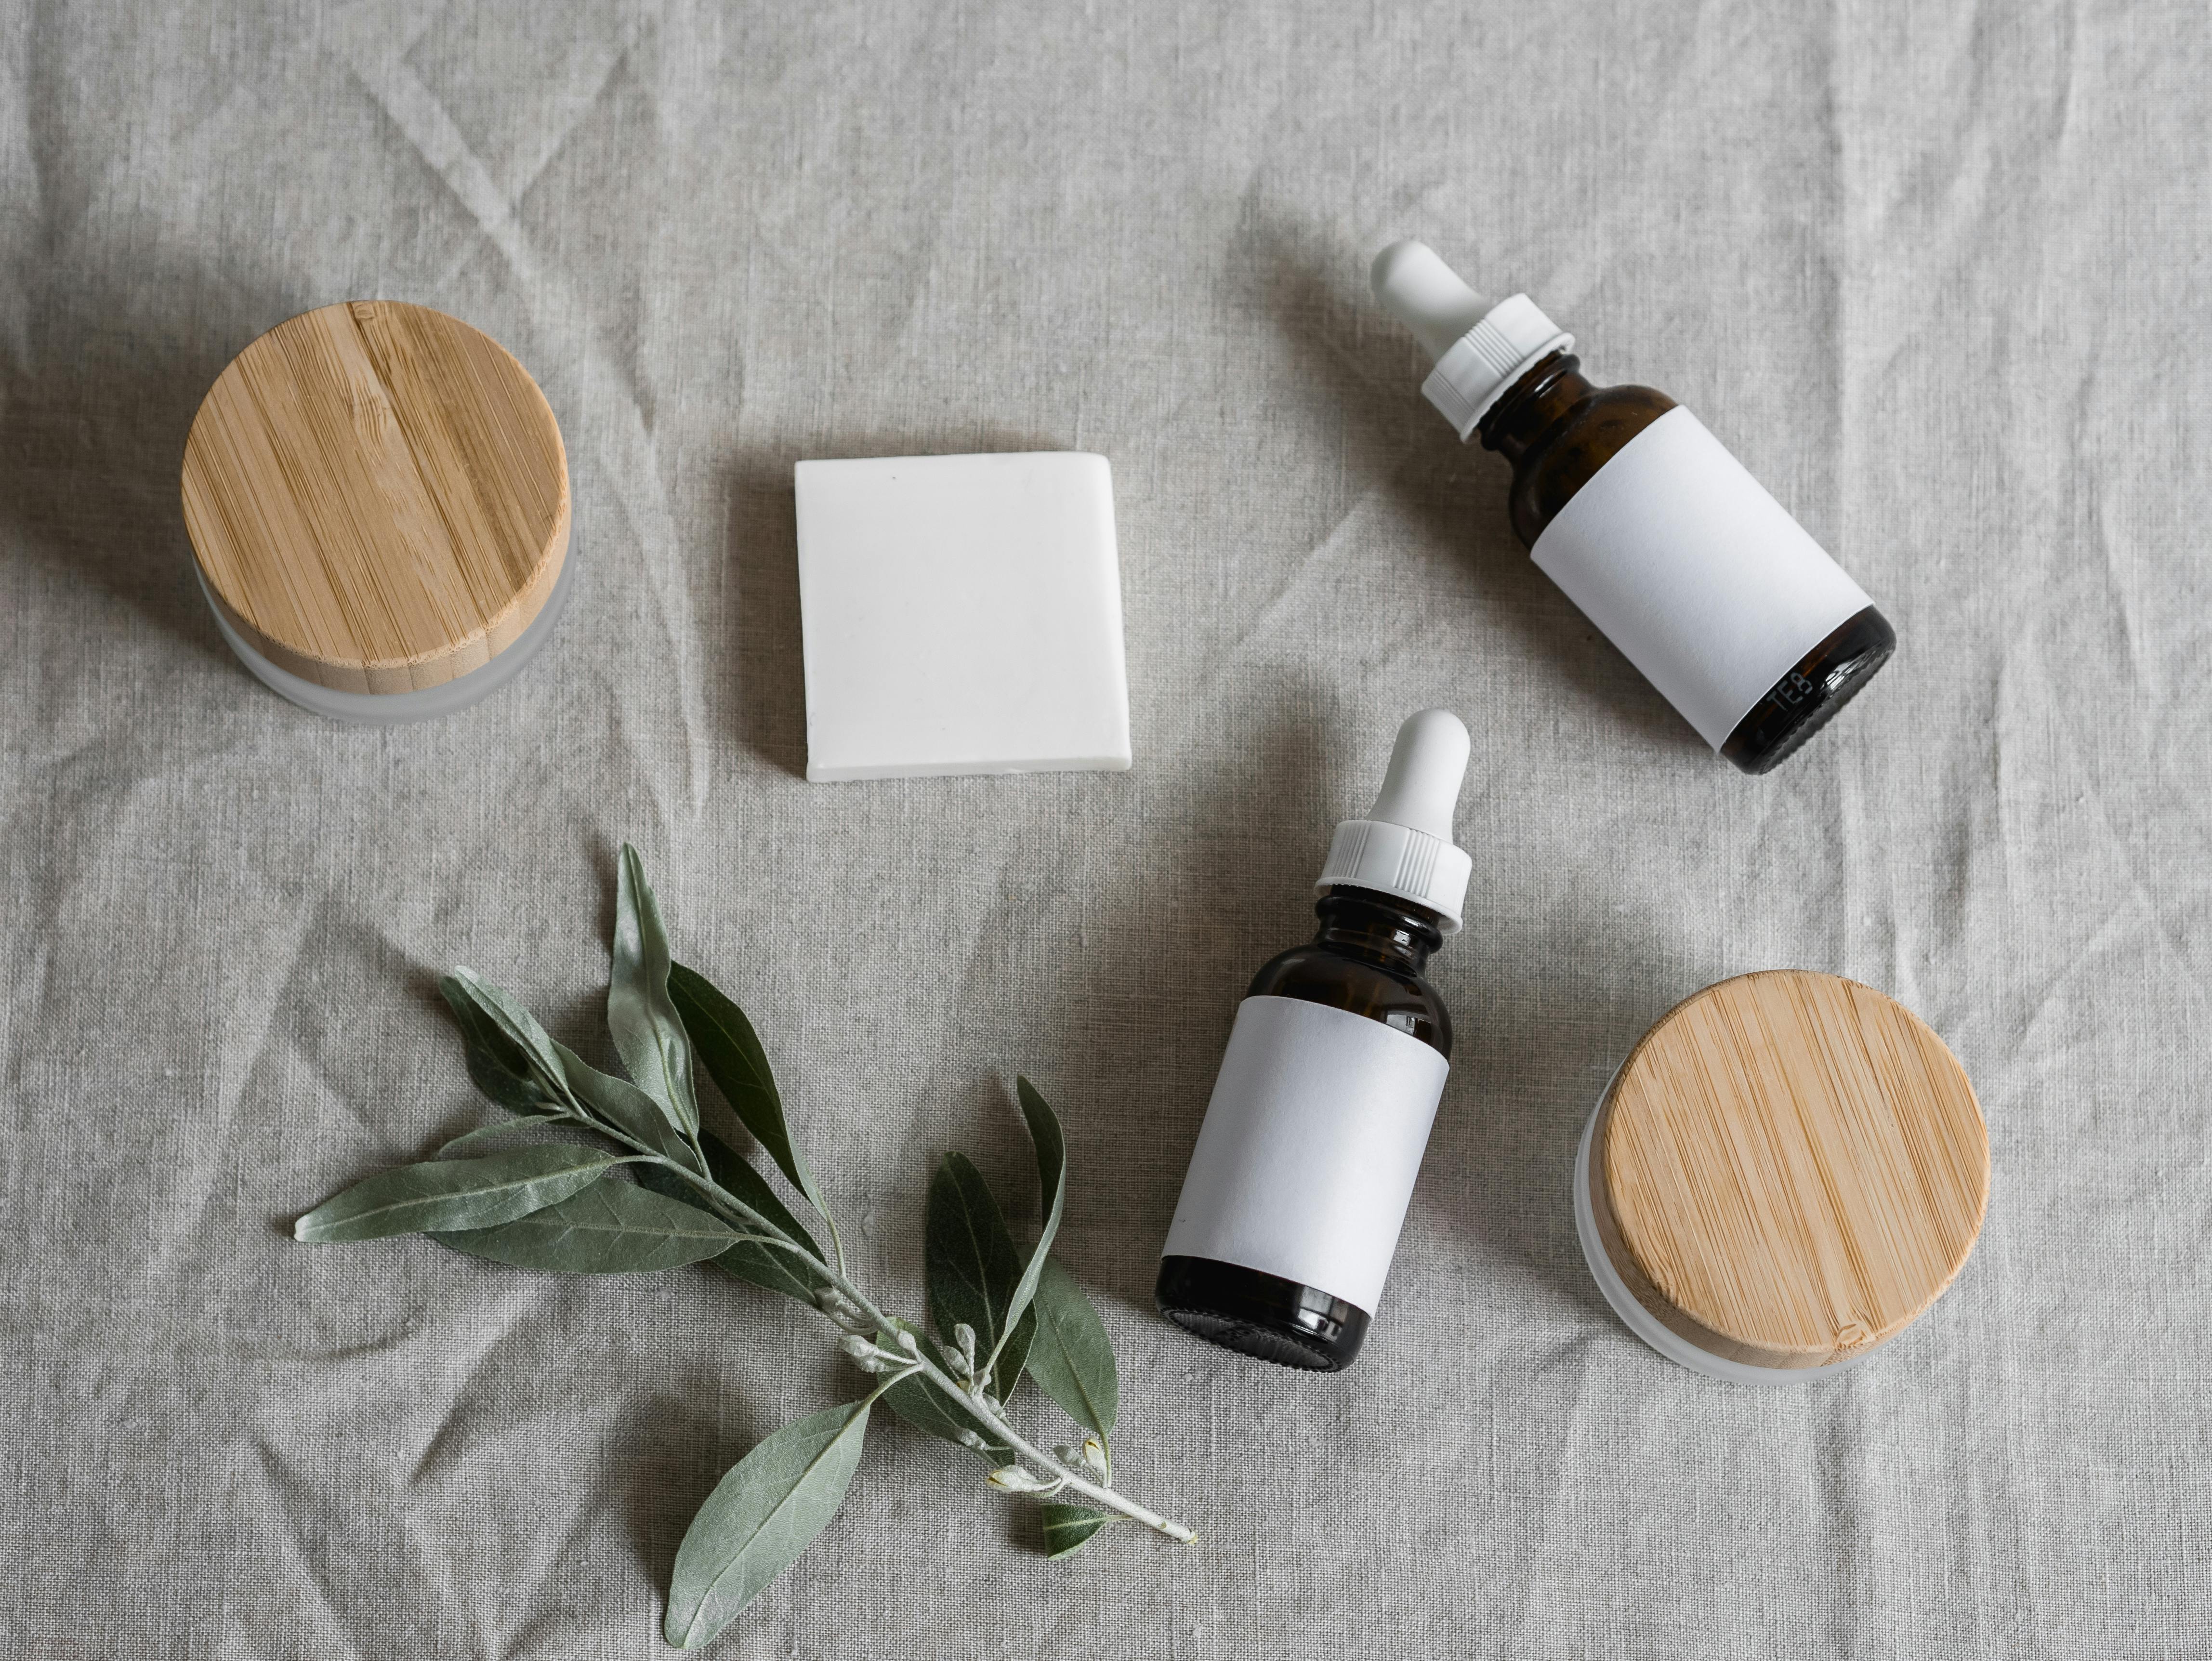
Select a mask that addresses your skin type to lay the foundation for flawless makeup. If you have dry patches, a hydrating mask can infuse moisture and create a plump surface. Those with oily or combination skin benefit from clay or charcoal formulas that soak up excess oil without stripping away natural hydration. Sensitive skin calls for soothing ingredients like aloe vera or oatmeal to calm redness and prevent irritation.
Think about your schedule and routine beyond skin type. Sheet masks offer a quick boost in 10–15 minutes and deliver ingredients evenly across your face. Cream or gel masks might take 20–30 minutes but allow you to multitask at home. If you need a deep detox, a mask with salicylic acid or AHAs can clear pores before makeup, ensuring fewer breakouts under your foundation.
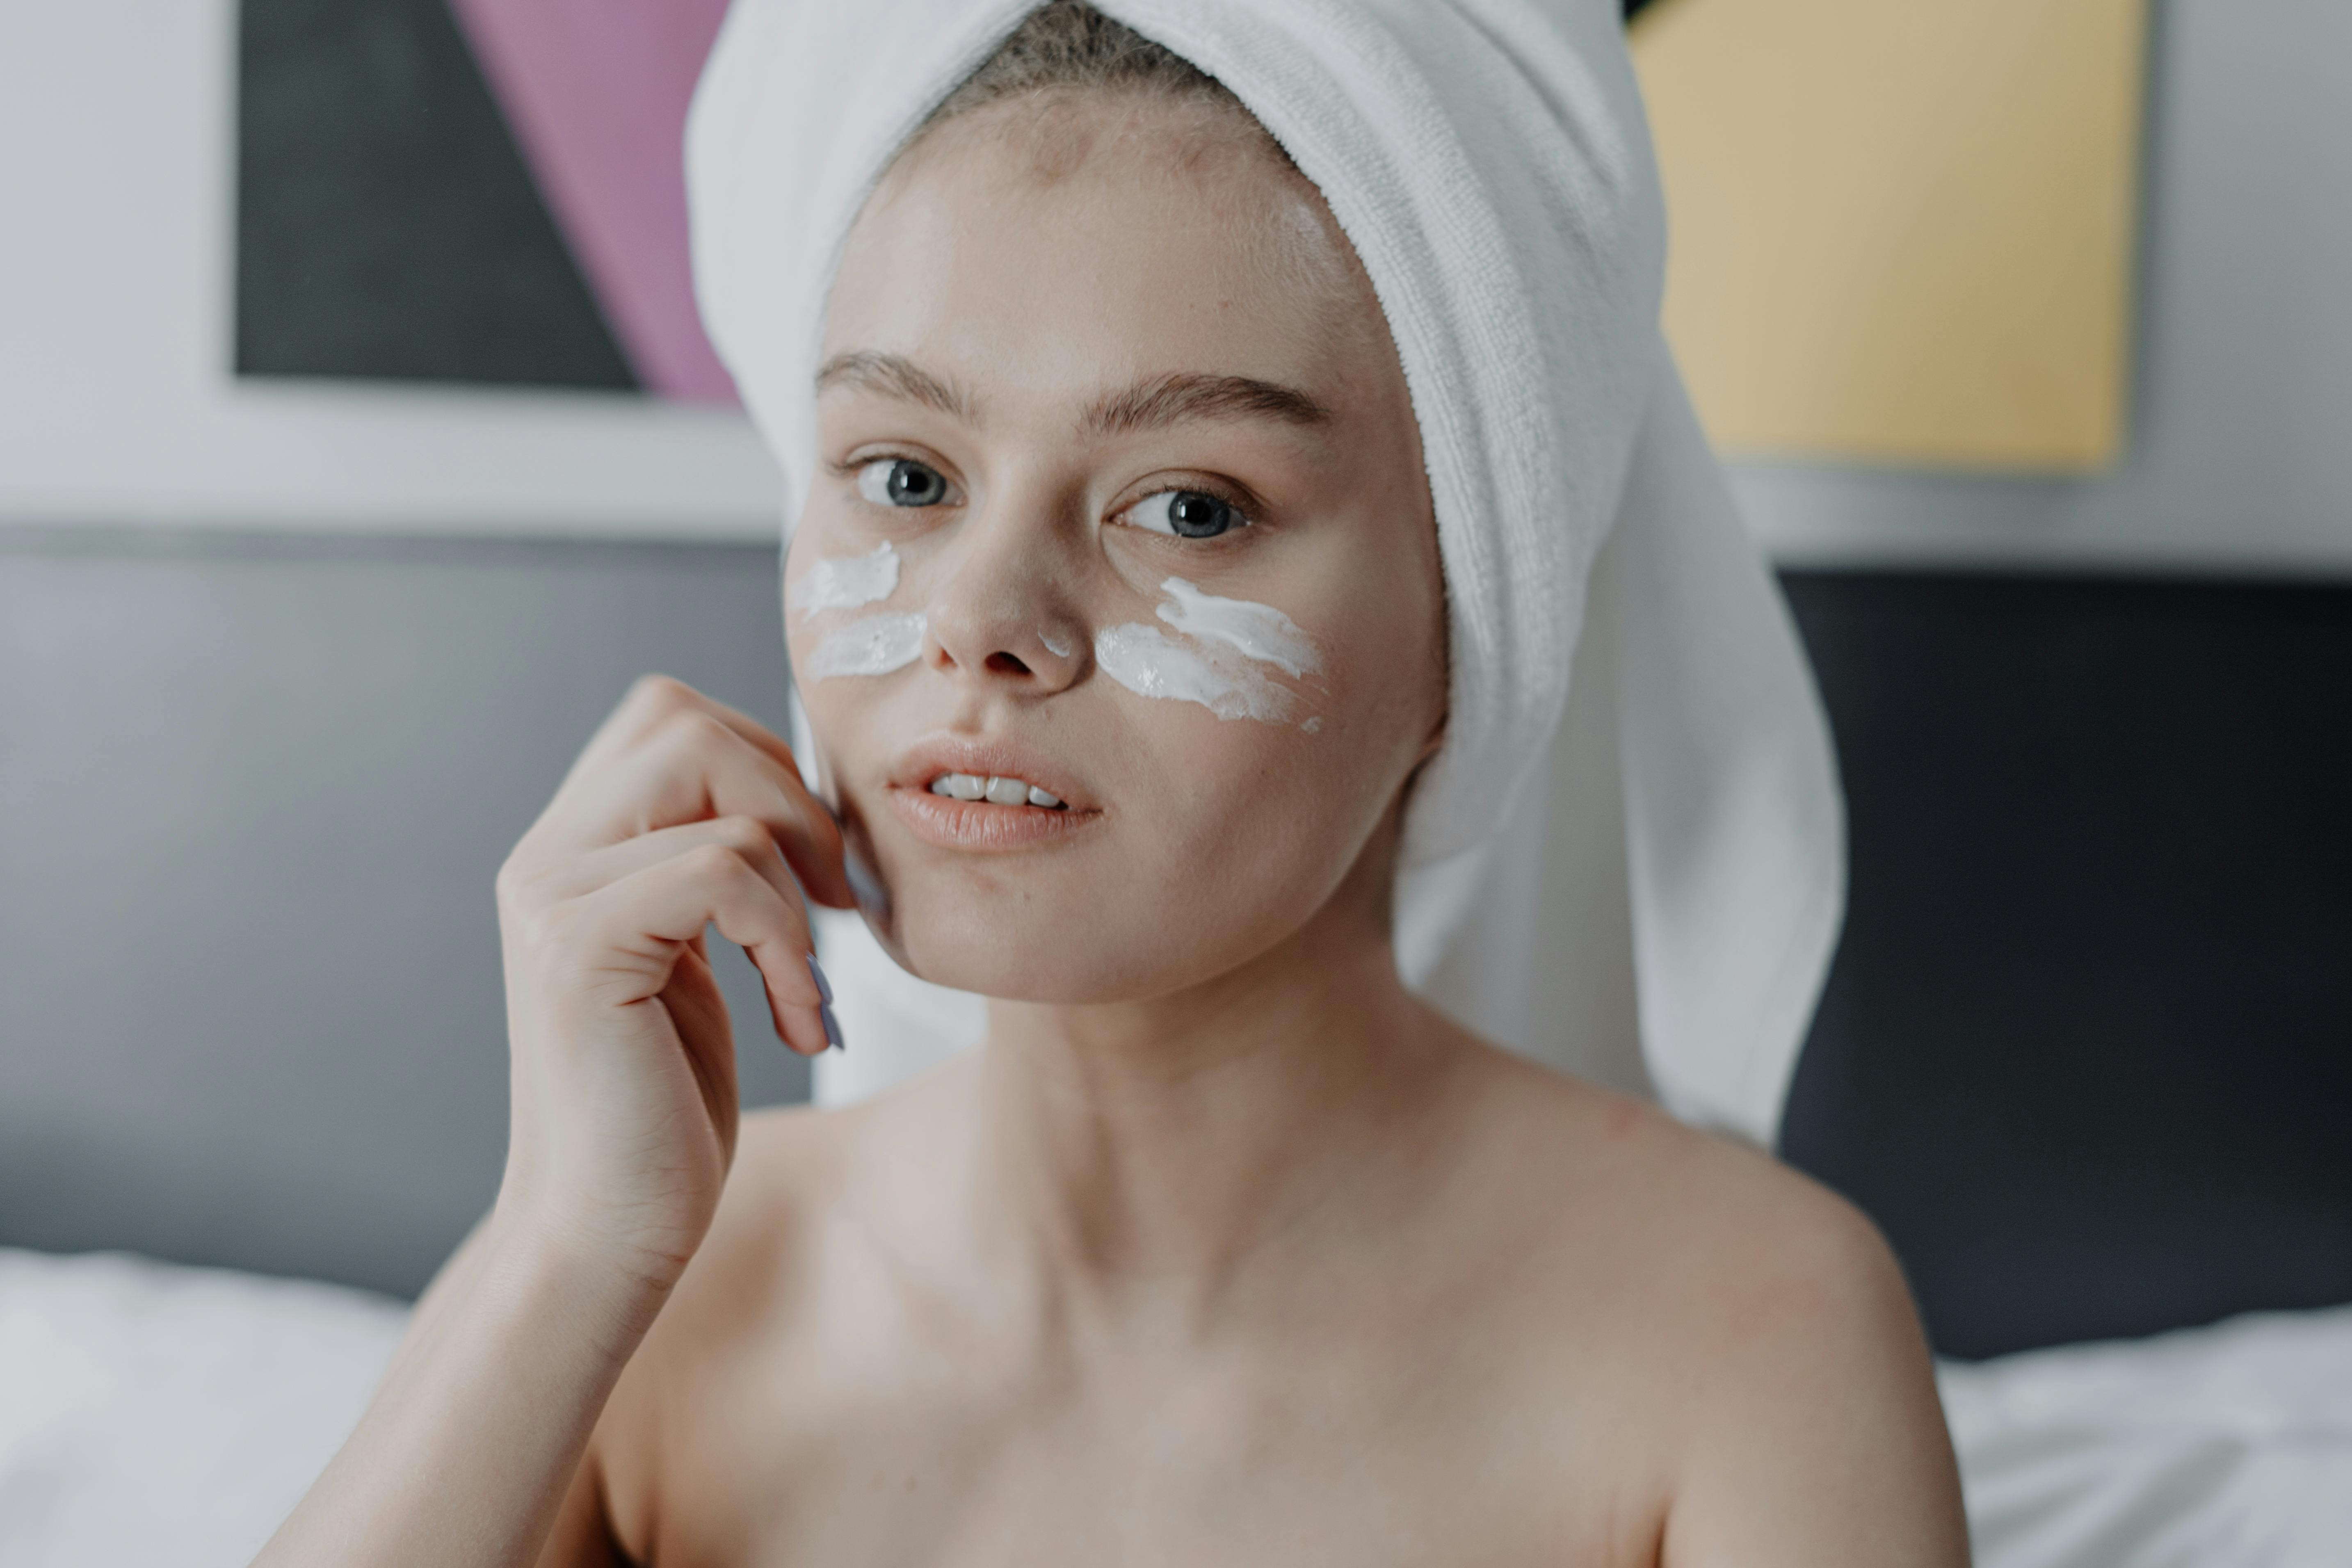
Cleanse your face gently to remove dirt and leftover makeup. Use a sulfate-free cleanser that matches your skin type. Rinse thoroughly with lukewarm water to avoid drying out your skin. Pat your face dry with a soft towel instead of rubbing to preserve moisture.
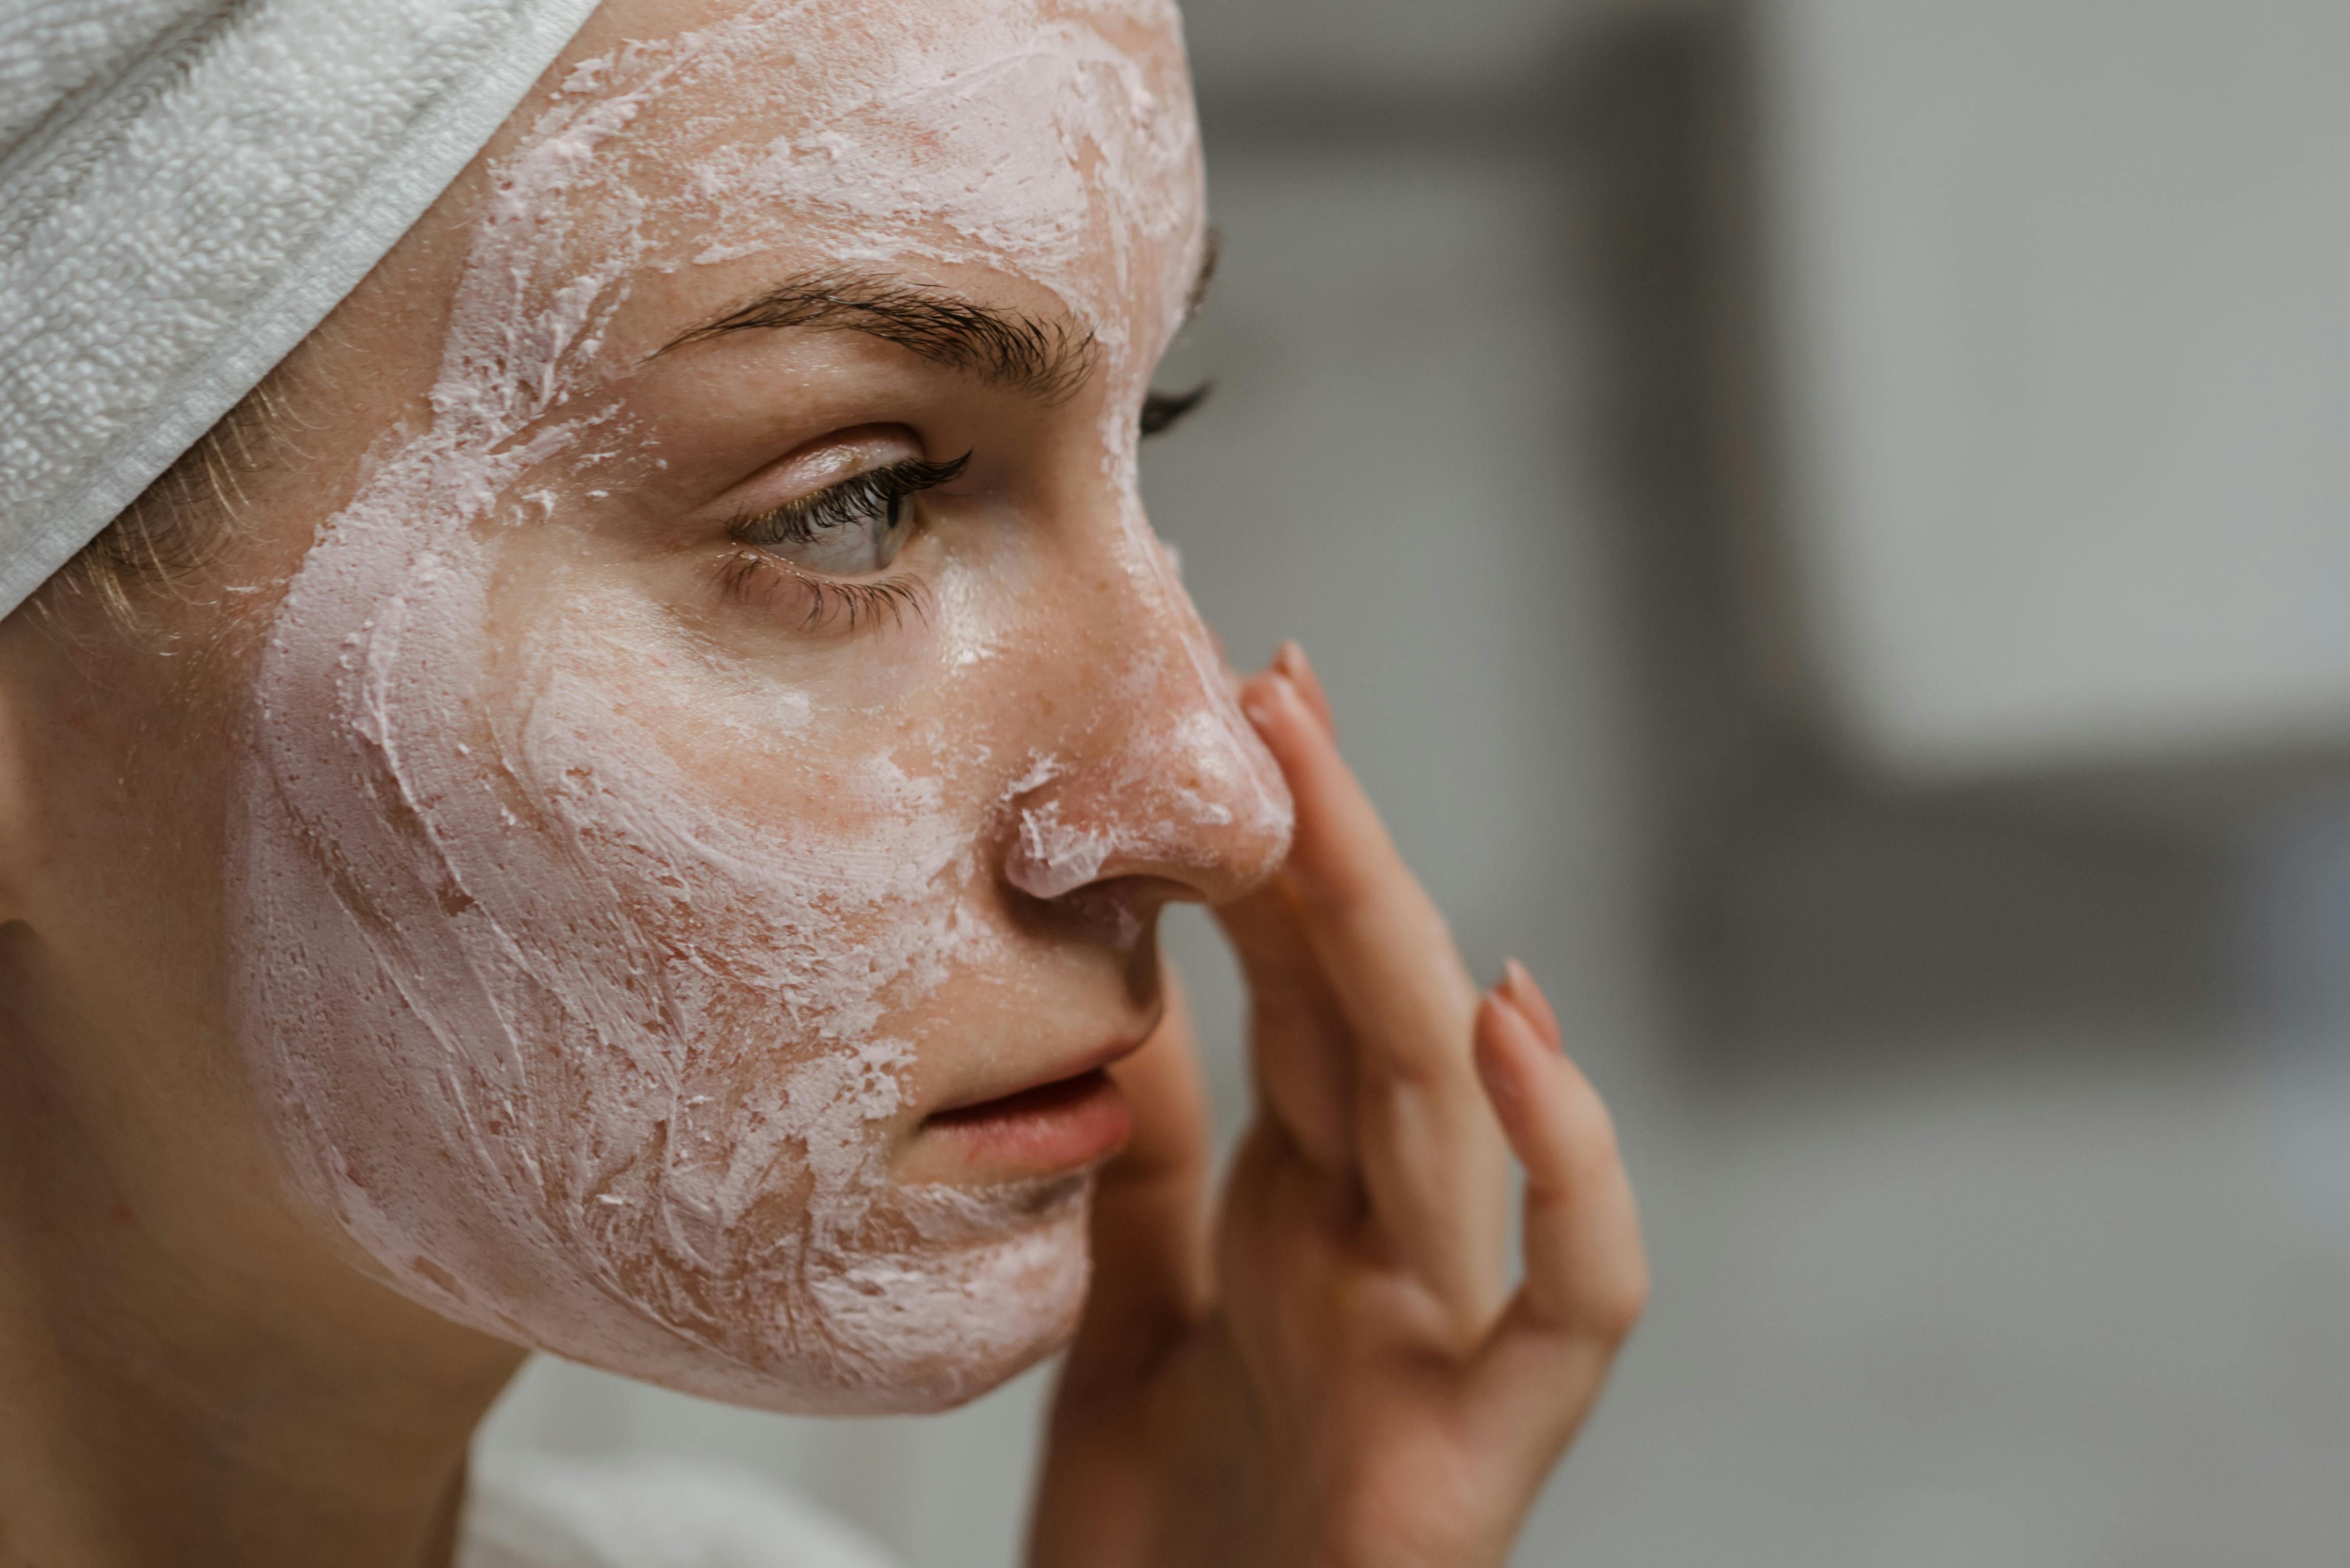
Apply a toner or mist to balance your skin’s pH and prepare it for the mask. A toner with antioxidants or gentle exfoliants can remove lingering debris and allow mask ingredients to penetrate more deeply. Wait until your skin feels slightly damp before applying the mask, which helps the treatment sink in evenly.
After your mask finishes working, choose a makeup formula that suits your skin’s new condition, making application easier. For dry or dull skin, a moisturizing foundation or tinted moisturizer enhances the dewiness you created with your mask. Look for formulas labeled “hydrating” or “glow-enhancing” and avoid matte foundations, which can cling to dry patches.
If your mask tightened pores and reduced oil, a semi-matte foundation adds a natural finish without looking greasy. Powder blushes and eyeshadows adhere well to this base, while cream products harmonize with residual moisture. People with sensitive skin might prefer mineral-based powders, which offer gentle coverage and absorb excess oil in the T-zone.
Understanding how color correctors and complexion enhancers work helps you address redness, dark circles, or sallowness. A green-tinted primer or concealer neutralizes redness from breakouts or irritation. For blue or purple under-eyes, apply a peach or salmon corrector before your concealer.
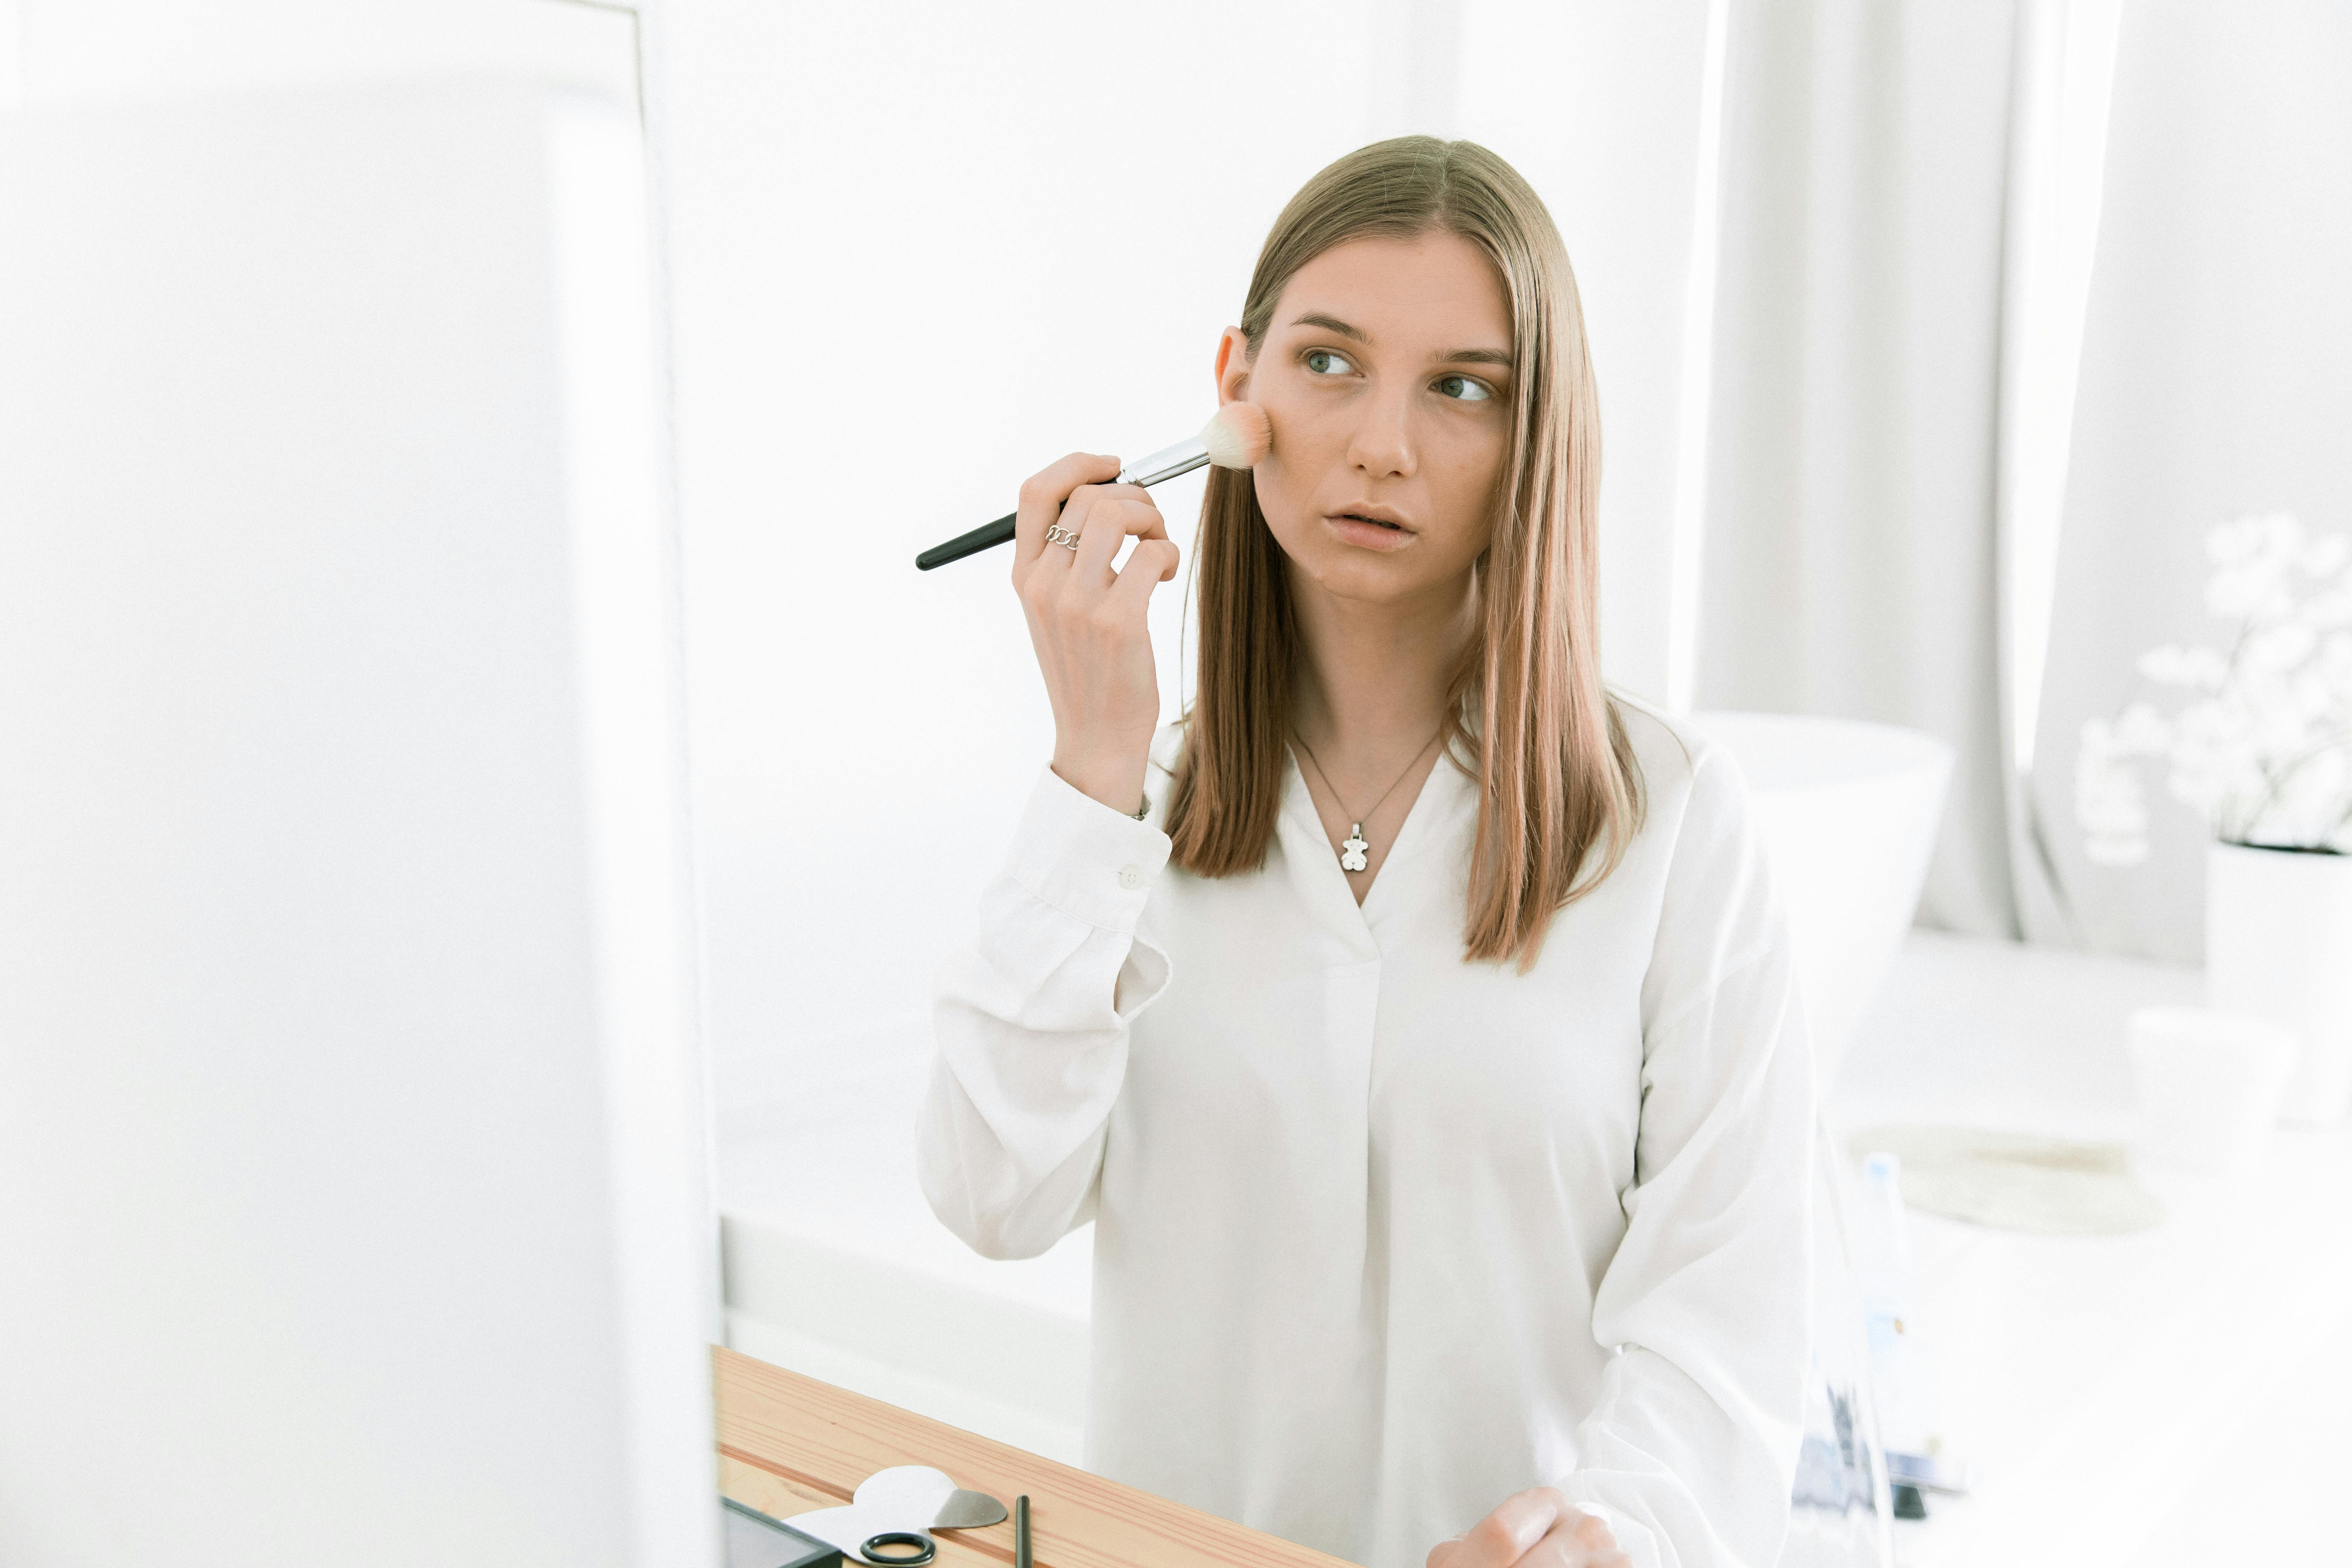
After correcting colors, blend foundation in a thin layer to prevent cakiness. Use a damp sponge or a synthetic brush, tapping gently to press the product into your skin. This method creates an even, skin-like finish that stays intact through the day.
Select your tools based on the coverage you want. Sponges provide sheer to medium coverage with a dewy result. Synthetic brushes build fuller coverage and deliver an airbrushed look. Clean your tools regularly to prevent bacteria buildup and patchy makeup.


Keep blotting papers nearby to absorb midday shine without disturbing your makeup layers. Gently press the paper over oily areas instead of sweeping it across your skin. This technique prevents your foundation from shifting and keeps your look polished.
Carry a tinted lip balm and a mini concealer stick for quick brightening. A dab of concealer under the eyes or on stubborn blemishes refreshes your face. Then use a small brush to blur edges, blending seamlessly into the surrounding makeup.
Choosing the right face mask to match your makeup improves your routine and boosts confidence. Follow these steps for a long-lasting, camera-ready look each day.